When it comes to setting up a small or medium-sized studio, professional LED lighting plays a pivotal role in creating the perfect atmosphere and capturing high-quality visuals. If you are a lighting professional, having the right lighting setup is essential to achieve outstanding results.
Factors to Consider When Choosing LED Lighting
1. Studio Size and Layout
The first step in selecting LED lighting for a small or medium-sized studio is to consider its size and layout. Assess the dimensions of the studio space, as well as the height of the ceiling, as these factors will influence the type and quantity of lights required.
2. Lighting Type
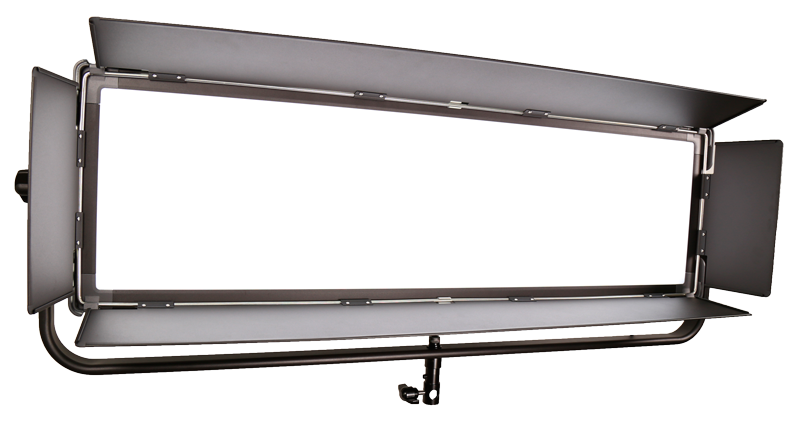
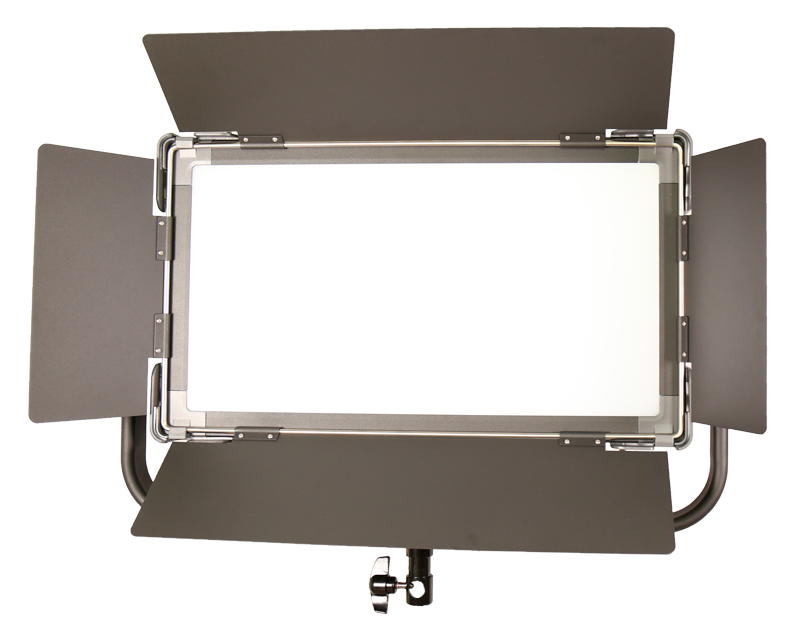
LED lighting are available in various forms, such as panels, Fresnel, softboxes, ring lights, and more. Each type has its unique benefits and is suited for different purposes. For instance, LED panels offer broad, even illumination, while ring lights create a captivating halo effect in portrait photography and video shoots.
3. Color Temperature
For studio settings, neutral white light (around 5000K) is generally preferred as it closely resembles natural daylight, making it ideal for color accuracy in photography and video.
4. Color Rendering Index (CRI)
For studio lighting, aim for LED lights with a CRI of 90 or above to ensure true-to-life color representation.
5. Brightness and Dimming Options
Controllable brightness is crucial for creating the desired atmosphere in your studio. Look for LED lights that offer dimming options, allowing you to adjust the intensity based on your requirements.
6. Compatibility with Other Equipment
Ensure that the LED lighting you choose is compatible with your existing studio equipment, such as cameras, tripods, and light stands. Consider the mounting options and accessories required for seamless integration.
7. Budget Considerations
While it’s essential to invest in high-quality LED lighting, consider your budget constraints and look for options that strike a balance between performance and cost-effectiveness. BTW, this is also the advantage of EverSirius’ products.
Best Practices for Setting Up LED Lighting in Your Studio Projects
Once having selected the appropriate LED lighting for your studio projects, the following best practices could optimize the performance:
1. Positioning of Lights
Experiment with the positioning of the LED lighting to create the desired shadows and highlights. Generally, the key light illuminates the subject, while fill lights and back light help control the overall mood and depth.
2. Diffusion and Softening
For a more flattering and soft lighting effect, use diffusers, softboxes, or umbrellas in front of the LED lighting to scatter and soften the light.
3. White Balance Calibration
Calibrate the camera’s white balance settings to match the color temperature of the LED lighting accurately. This ensures consistent and natural-looking results in the visuals.
4. Continuous Lighting vs. Flash
LED lights offer continuous lighting, which allows you to see the real-time effects of your lighting setup. This is advantageous for both photography and videography.
5. Regular Maintenance
Keep the LED lighting clean and free from dust to maintain their performance and longevity.
Last but not least, remember that LED lighting is worth choosing reputable brands known for their reliability and performance. With proper setup and maintenance, your studio lighting projects will become indispensable tools for clients, helping you achieve a better reputation and taking your influence to new heights.